
Explore
Intelligence
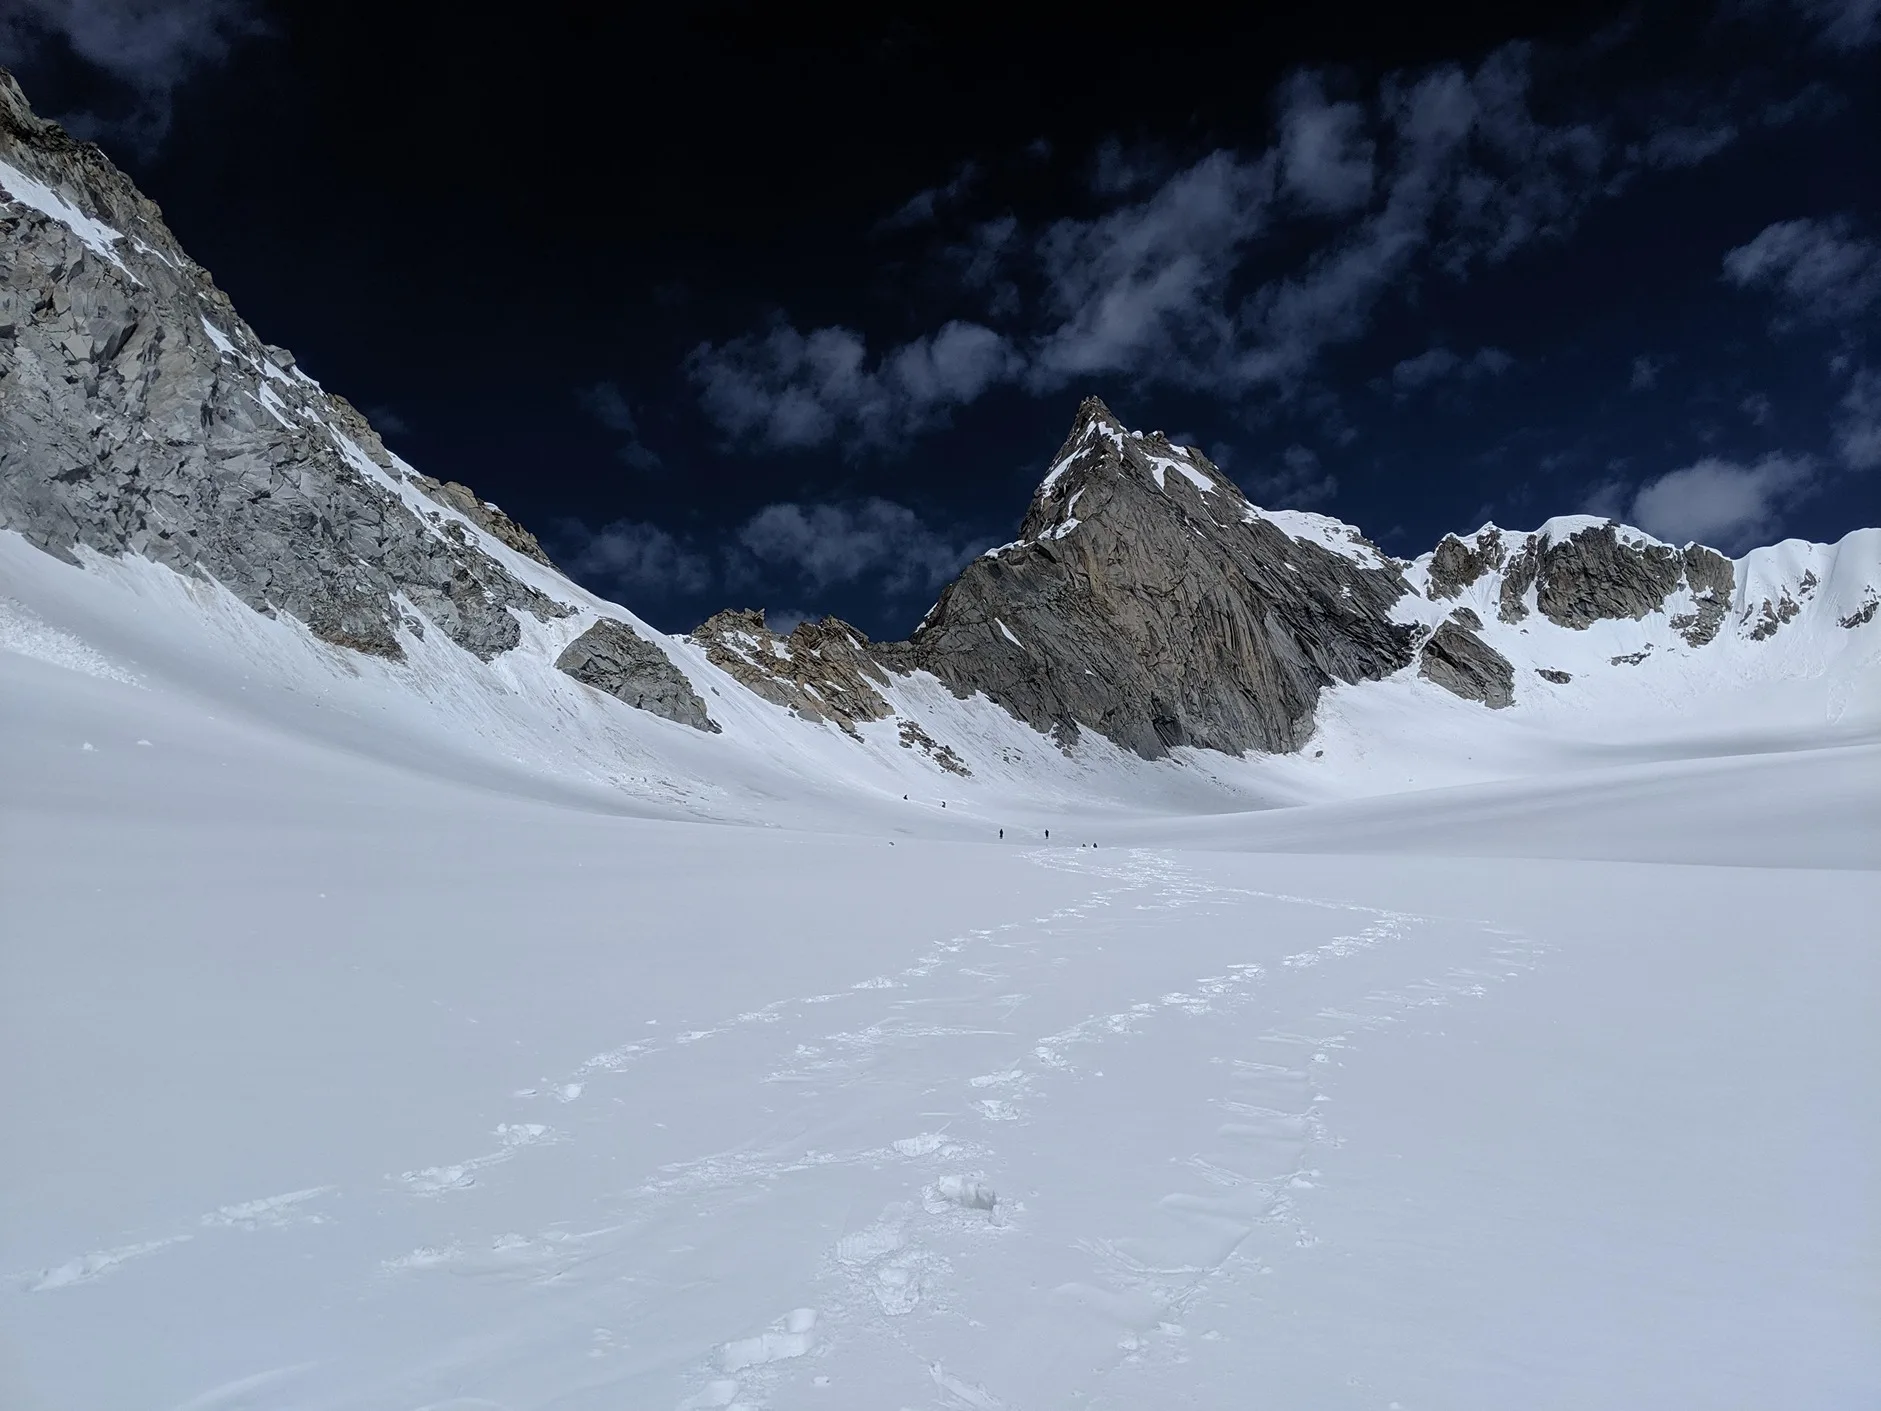
Detailed Route
Borasu Pass Expedition Itinerary — Day by Day Route & Camps
An 8-day savage traverse from the ancient wooden temples of Sankri (Uttarakhand) to the Indo-Tibet border terminal of Chitkul (Himachal Pradesh).
Standard RouteThis is the baseline pacing strategy for this expedition. Expedition leaders frequently modify rotation schedules, add reserve weather days, or adjust high camps based on real-time mountain conditions. Consult the operator's expedition dossier for their precise approach.
Duration
8 Days
Total Distance
66 KM
Max Altitude
17,881 FT
Trek Type
linear
One-Way Traverse Logistics
Day by Day Breakdown
Camp Alt
6,400 ft
Day Gain
+4,200 ft
Drive: Dehradun to Sankri
Homestay/Lodge stay. Expedition briefing at 6 PM. Technical: A winding mountain drive. Road quality is generally good until Purola. The last 20km stretch to Sankri is narrow. Hydrate to offset travel fatigue. Safety: Final reliable electricity and network. Charge all devices. Check your high-altitude gear (gaiters/microspikes) tonight.
Key Landmarks
Staying At
The journey follows the mountain river corridor, transitioning from the broader plains into the steep-sided topography approaching the high country.
Camp Alt
8,900 ft
Day Gain
+2,500 ft
Drive to Taluka and Trek to Osla
Homestay at Osla. Experience the local culture and wooden temple architecture. The drive to Taluka is on a rough mountain road. The trek follows the Supin river through forests and small settlements before reaching Osla village.
Key Landmarks
Staying At
The vehicle route narrows into a forested trail navigating the Supin river gorge toward Osla.
Field Notes
KEY ACTIONRiver Crossings
Plan to cross early in the day before snowmelt swells the water levels. Unclip backpack waist belts before crossing.
Camp Alt
11,675 ft
Day Gain
+2,775 ft
Trek: Osla to Har Ki Dun Valley
Night stay in tents. The first view of Swargarohini is a major milestone. Technical: Steep climb to Kalkattiyadhar followed by a scenic walk into the valley. Gain is significant today. Safety: Oximeter check mandatory. Har Ki Dun is a high-wind valley. Layer up before sunset.
Key Landmarks
Staying At
Crossing the high-altitude pass bridges two distinct watershed systems, shifting the expedition over the glaciated divide and down into a new river basin.
Field Notes
KEY ACTIONRiver Crossings
Plan to cross early in the day before snowmelt swells the water levels. Unclip backpack waist belts before crossing.
Camp Alt
13,500 ft
Day Gain
+1,825 ft
Transition: Har Ki Dun to Ratia Thatch
Night stay in tents. High-altitude survival mode begins. Technical: The trail turns wild beyond the lake. Crossing boulder fields and lateral moraine. No marked path. Use Cairns. Safety: Extreme Cold. Night temps can drop to -12C. Carry warm water. Monitor for HAPE symptoms.
Key Landmarks
Staying At
Vegetation gives way to barren glacial debris as the route enters the expansive moraine basin and ablation zone of the Jaundhar glacier moraine.
Field Notes
KEY ACTIONHelmet Mandatory
Helmet mandatory. Move quickly and quietly through the rockfall zone without stopping to rest.
Use Trekking Poles
Trekking poles are highly recommended to save your knees on the descent.
INFOSlower Progress
Progress will be significantly slower and more taxing on your ankles than trail distance suggests.
Camp Alt
14,900 ft
Day Gain
+1,400 ft
The Pass Base: Ratia Thatch to Borasu Base Camp
Summit briefing. Early sleep (7 PM). Technical: Short distance but high-effort walk on talus and scree. High risk of sliding. Safety: Oximeter check morning and evening. Wind speeds can hit 40kmph.
Key Landmarks
Staying At
Crossing the high-altitude pass bridges two distinct watershed systems, shifting the expedition over the glaciated divide and down into a new river basin.
Field Notes
KEY ACTIONRoped Travel
Requires roped glacier travel.
KEY ACTIONStart Early
Start before sunrise to ensure snow bridges remain solid.
KEY ACTIONRiver Crossings
Plan to cross early in the day before snowmelt swells the water levels. Unclip backpack waist belts before crossing.
Use Trekking Poles
Trekking poles are highly recommended to save your knees on the descent.
INFOSlower Progress
Progress will be significantly slower and more taxing on your ankles than trail distance suggests.
Camp Alt
13,123 ft
Day Gain
-1,777 ft
Today's Objective
🏔 Cross Borasu Pass
Exhausted night at Bonga. Celebration into Himachal Pradesh. Technical: The ultimate test. A steep climb on snow and ice leads to the pass. Descent into Himachal is steep and rocky. Safety: Turnback Time: 10:00 AM. Snow on the HP side becomes unstable (crevasse risk).
Key Landmarks
Staying At
The route transitions between basins at Borasu Pass, dropping into the Kinnaur valley.
Field Notes
KEY ACTIONRoped Travel
Requires roped glacier travel.
KEY ACTIONStart Early
Start before sunrise to ensure snow bridges remain solid.
Use Trekking Poles
Trekking poles are highly recommended to save your knees on the descent.
INFOSlower Progress
Progress will be significantly slower and more taxing on your ankles than trail distance suggests.
Camp Alt
11,200 ft
Day Gain
-1,923 ft
The Final Walk: Bonga to Chitkul
Hotel stay in Chitkul. Celebratory dinner. Technical: Long walk through the Baspa valley. Chitkul is the last Indian village on this border. Safety: Register your exit with the ITBP Chitkul post immediately. Hydrate well.
Key Landmarks
Staying At
The barren ice and moraine of the upper basin transition quickly back into alpine scrub and alpine meadow basin as the route loses elevation.
Field Notes
KEY ACTIONHelmet Mandatory
Helmet mandatory. Move quickly and quietly through the rockfall zone without stopping to rest.
KEY ACTIONRiver Crossings
Plan to cross early in the day before snowmelt swells the water levels. Unclip backpack waist belts before crossing.
Use Trekking Poles
Trekking poles are highly recommended to save your knees on the descent.
INFOSlower Progress
Progress will be significantly slower and more taxing on your ankles than trail distance suggests.
Camp Alt
1,100 ft
Day Gain
-10,100 ft
Drive: Chitkul to Shimla / Chandigarh
Long return drive. End of expedition.
Staying At
The mountain valley topography transitions back into the lower foothill river plains.
Expedition Extensions & Add-ons
Har Ki Dun Valley stay
+1 DayExtended camp at the source of the Supin river before pushing for the Borasu glacier crest.
Camp-by-Camp Details
Osla
camp
Har Ki Dun
camp
Ratia Thatch
camp
Borasu BC
camp
Bonga
camp
Sankri
camp
Chitkul
camp
Chandigarh
camp
Plan Your Expedition:
Ready to book? Compare verified operators for Borasu Pass Expedition — transparent pricing, no paid rankings.
Still deciding?
Compare routes side-by-side to find the perfect match for your fitness, dates, and budget.
Day by day, camp by camp. Send this to your group so everyone's on the same page.
Step 4: Safety & Framework
You understand the route.
Now understand the hazards, physiology, and Go/No-Go decision framework.
View Safety Framework