
Explore
Intelligence
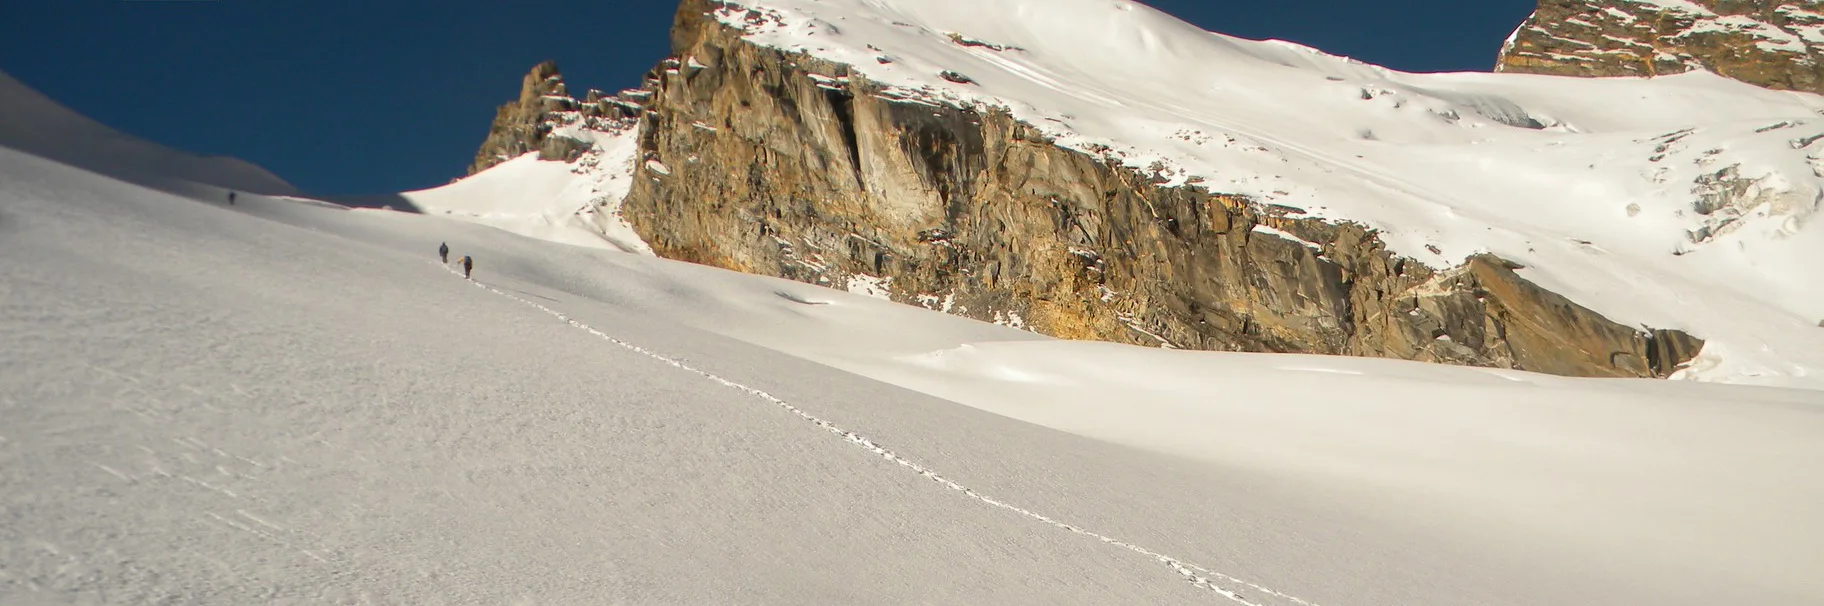
Detailed Route
Audens Col Expedition Itinerary — Day by Day Route & Camps
14-day grueling traverse from Gangotri to Kedarnath, requiring multiple acclimatization days.
Standard RouteThis is the baseline pacing strategy for this expedition. Expedition leaders frequently modify rotation schedules, add reserve weather days, or adjust high camps based on real-time mountain conditions. Consult the operator's expedition dossier for their precise approach.
Duration
15 Days
Total Distance
75 KM
Max Altitude
18,012 FT
Trek Type
linear
Permits Required Before You Go
Permit Cost
Foreigner Process
Strict IMF clearance and X-Visa requirements.
Nearest Embassy Hub
New Delhi
One-Way Traverse Logistics
Day by Day Breakdown
Camp Alt
10,000 ft
Day Gain
+8,000 ft
Drive Dehradun to Gangotri
Long drive to the holy town.
Key Landmarks
Staying At
The drive ascends through the steep, forested gorge of the Bhagirathi, transitioning into the high-altitude settlement of Gangotri.
Camp Alt
10,000 ft
Day Gain
0 ft
Today's Objective
☕ Acclimatization & Recovery
Rest day at 10,000 ft. Short walks around the holy town to begin altitude adaptation.
Key Landmarks
Staying At
The team holds position within the barren rocky landscape, monitoring weather patterns and adapting to the thinning atmosphere.
Camp Alt
12,300 ft
Day Gain
+2,300 ft
Trek Gangotri to Nala Camp
Trek alongside the roaring Bhagirathi river, passing through the fragile pine forests. The trail features active rockfall zones and dusty, exposed sections.
Key Landmarks
Staying At
The route leaves the settlement and emerges onto a fragile pine forest environment bounded by steep, rocky gorge walls.
Field Notes
KEY ACTIONHelmet Mandatory
Helmet mandatory. Move quickly and quietly through the rockfall zone without stopping to rest.
KEY ACTIONRiver Crossings
Plan to cross early in the day before snowmelt swells the water levels. Unclip backpack waist belts before crossing.
Use Trekking Poles
Trekking poles are highly recommended to save your knees on the descent.
INFOSlower Progress
Progress will be significantly slower and more taxing on your ankles than trail distance suggests.
Camp Alt
14,100 ft
Day Gain
+1,800 ft
Trek Nala Camp to Rudugaira BC
Break above the tree line into the high alpine meadows of the Rudugaira valley. The steep ascents demand steady pacing to stave off initial altitude sickness symptoms.
Key Landmarks
Staying At
The pine forests disappear entirely, replaced by the high alpine meadows and rocky ridges of the Rudugaira valley.
Field Notes
Use Trekking Poles
Trekking poles are highly recommended to save your knees on the descent.
INFOSlower Progress
Progress will be significantly slower and more taxing on your ankles than trail distance suggests.
Camp Alt
14,100 ft
Day Gain
0 ft
Today's Objective
☕ Acclimatization & Recovery
Essential rest day and short height-gain walk. Acclimatization walks are conducted along the rocky ridges to acclimatize.
Key Landmarks
Staying At
The expedition remains stationed within the high-altitude ablation zone, adjusting to the stark environment where exposed scree and ice dominate the glaciated upper watershed.
Camp Alt
15,600 ft
Day Gain
+1,500 ft
Trek Rudugaira BC to Audens Col BC
Rough moraine walking to reach the foot of the Col.
Key Landmarks
Staying At
Vegetation gives way to barren glacial debris as the route enters the expansive moraine basin and ablation zone of the glaciated upper watershed.
Field Notes
Use Trekking Poles
Trekking poles are highly recommended to save your knees on the descent.
INFOSlower Progress
Progress will be significantly slower and more taxing on your ankles than trail distance suggests.
Camp Alt
16,200 ft
Day Gain
+600 ft
Trek Audens Col BC to Advanced BC
Move higher to establish Advanced Base Camp before the pass crossing. The team inspects technical gear and plans the route through the crevasses.
Key Landmarks
Staying At
Vegetation gives way to barren glacial debris as the route enters the expansive moraine basin and ablation zone of the glaciated upper watershed.
Field Notes
Stow Poles
Requires hands-on rock scrambling. Stow trekking poles to free up your hands.
INFOSlower Progress
Progress will be significantly slower and more taxing on your ankles than trail distance suggests.
Camp Alt
16,000 ft
Day Gain
-200 ft
Today's Objective
🏔 Cross Auden's Col
Start at 1 AM. Roped climb to 18,011ft. Technical descent onto the heavily crevassed Khatling Glacier.
Key Landmarks
Staying At
The route navigates a severe crosses the mountain divide, transitioning from the Rudugaira basin across Audens Col and descending onto the Khatling Glacier.
Field Notes
KEY ACTIONRoped Travel
Requires roped glacier travel.
KEY ACTIONStart Early
Start before sunrise to ensure snow bridges remain solid.
KEY ACTIONVertical Sections
Expect steep sections requiring jumars and rappelling on fixed lines.
KEY ACTIONHarness Gear
Harness-compatible gear is mandatory.
Camp Alt
13,500 ft
Day Gain
-2,500 ft
Trek Khatling Glacier to Waterfall Camp
Navigate the maze of deep crevasses on the massive Khatling glacier.
Key Landmarks
Staying At
Crossing the high-altitude pass bridges two distinct watershed systems, shifting the expedition over the glaciated divide and down into a new river basin.
Field Notes
KEY ACTIONRoped Travel
Requires roped glacier travel.
KEY ACTIONStart Early
Start before sunrise to ensure snow bridges remain solid.
KEY ACTIONVertical Sections
Expect steep sections requiring jumars and rappelling on fixed lines.
KEY ACTIONHarness Gear
Harness-compatible gear is mandatory.
KEY ACTIONHelmet Mandatory
Helmet mandatory. Move quickly and quietly through the rockfall zone without stopping to rest.
Camp Alt
13,500 ft
Day Gain
0 ft
Today's Objective
☕ Acclimatization & Recovery
Reserve day built into the timeline to account for weather delays or route exhaustion.
Staying At
The team holds position within the alpine meadow basin, monitoring weather patterns and adapting to the thinning atmosphere.
Camp Alt
12,000 ft
Day Gain
-1,500 ft
Trek Waterfall Camp to Chowki
Descent alongside the Bhilangana River through the valley.
Key Landmarks
Staying At
The barren glacial basin gradually transitions back into high alpine meadows bordering the river gorge.
Field Notes
KEY ACTIONRiver Crossings
Plan to cross early in the day before snowmelt swells the water levels. Unclip backpack waist belts before crossing.
Camp Alt
15,000 ft
Day Gain
+3,000 ft
Today's Objective
💧 Reach Trek Chowki to Masar Tal
Steep climb to the high-altitude Masar Tal lake.
Key Landmarks
Staying At
The river gorge transitions back into a Khatling high alpine basin surrounding the glacial lake.
Camp Alt
14,200 ft
Day Gain
-800 ft
Today's Objective
🏔 Cross Mayali Pass
The second major obstacle. Climb steeply from Masar Tal, navigate snow slopes and hidden crevasses to cross Mayali Pass, then descend to Vasuki Tal.
Key Landmarks
Staying At
Crossing the high-altitude pass bridges two distinct watershed systems, shifting the expedition over the glaciated divide and down into a new river basin.
Field Notes
KEY ACTIONVertical Sections
Expect steep sections requiring jumars and rappelling on fixed lines.
KEY ACTIONHarness Gear
Harness-compatible gear is mandatory.
Camp Alt
11,700 ft
Day Gain
-2,500 ft
Trek Vasuki Tal to Kedarnath
Another climb from lake to ridge top where you can see the Kedar Valley and then steep descent to the sacred Kedarnath shrine. Demands crampons and caution in early season.
Key Landmarks
Staying At
The Masar Tal glacial basin opens into the Kedar Valley, re-entering a high-altitude settlement environment.
Camp Alt
6,500 ft
Day Gain
-5,200 ft
Descend to Gaurikund
A continuous, steep descent back into civilization. Trekkers must navigate crowded, paved pilgrim trails, ensuring steady footing throughout the descent.
Key Landmarks
Staying At
The route descends rapidly through the Mandakini river gorge, transitioning from the alpine settlement back into dense lower-elevation forests.
Expedition Extensions & Add-ons
Mayali Pass Integration
+2 DaysThe standard route already involves climbing back up to cross Mayali Pass to exit toward Kedarnath.
Camp-by-Camp Details
Gangotri GMVN
camp
Nala Camp Tents
camp
Rudugaira BC Tents
camp
Audens Col BC Tents
camp
ABC Tents
camp
Khatling Tents
camp
Waterfall Camp Tents
camp
Chowki Tents
camp
Masar Tal Tents
camp
Vasuki Tal Tents
camp
Kedarnath Lodge
camp
Hotel
camp
Navigation & Route Data
Critical Navigation Notes
Khatling glacier requires visual crevasse tracking.
Plan Your Expedition:
Ready to book? Compare verified operators for Audens Col Expedition — transparent pricing, no paid rankings.
Still deciding?
Compare routes side-by-side to find the perfect match for your fitness, dates, and budget.
Day by day, camp by camp. Send this to your group so everyone's on the same page.
Step 4: Safety & Framework
You understand the route.
Now understand the hazards, physiology, and Go/No-Go decision framework.
View Safety Framework