Difficulty & Readiness Guide
Is Gidara Bugyal Trek Difficult? — Fitness & Altitude Guide
Preparation Required
Intermediate
Prior Experience
Recommended: 1-2 easy Himalayan treks or regular hiking experience.
Score Engine v3
Why This Score?
Stamina
43/100
Based on average nightly altitude gain, highest campsite, and daily distance. Reflects how hard the average day feels.
Spike Day
34/100
Based on max altitude reached, summit day elevation gain, and summit day distance. Reflects the hardest single day.
Why Gidara Bugyal Trek Feels Difficult
A capable trekker's route dominated by extreme joint & muscle impact.
Physiological Demand
Steep, punishing ascents and descents that will heavily tax your knees, ankles, and overall joint stability.
Significant time spent above 12,000ft. Expect shortness of breath and slower pacing.
Multi-day camping requiring mental toughness to handle weather and fatigue debt.
Challenging daily distances and steady climbs. Good cardiovascular fitness is required.
Rough, uneven trails with occasional scrambling or minor exposure.
Crux Section
Day 4 — Oxygen Peak
Highest exposure point at 13,900ft.
Gidara Bugyal Trek/ 46
Gradient Warning
Caution
The descent off the mountain is notoriously steep. If you do not know how to lace your boots using a heel-lock knot, you will lose your toenails.
Terrain Breakdown
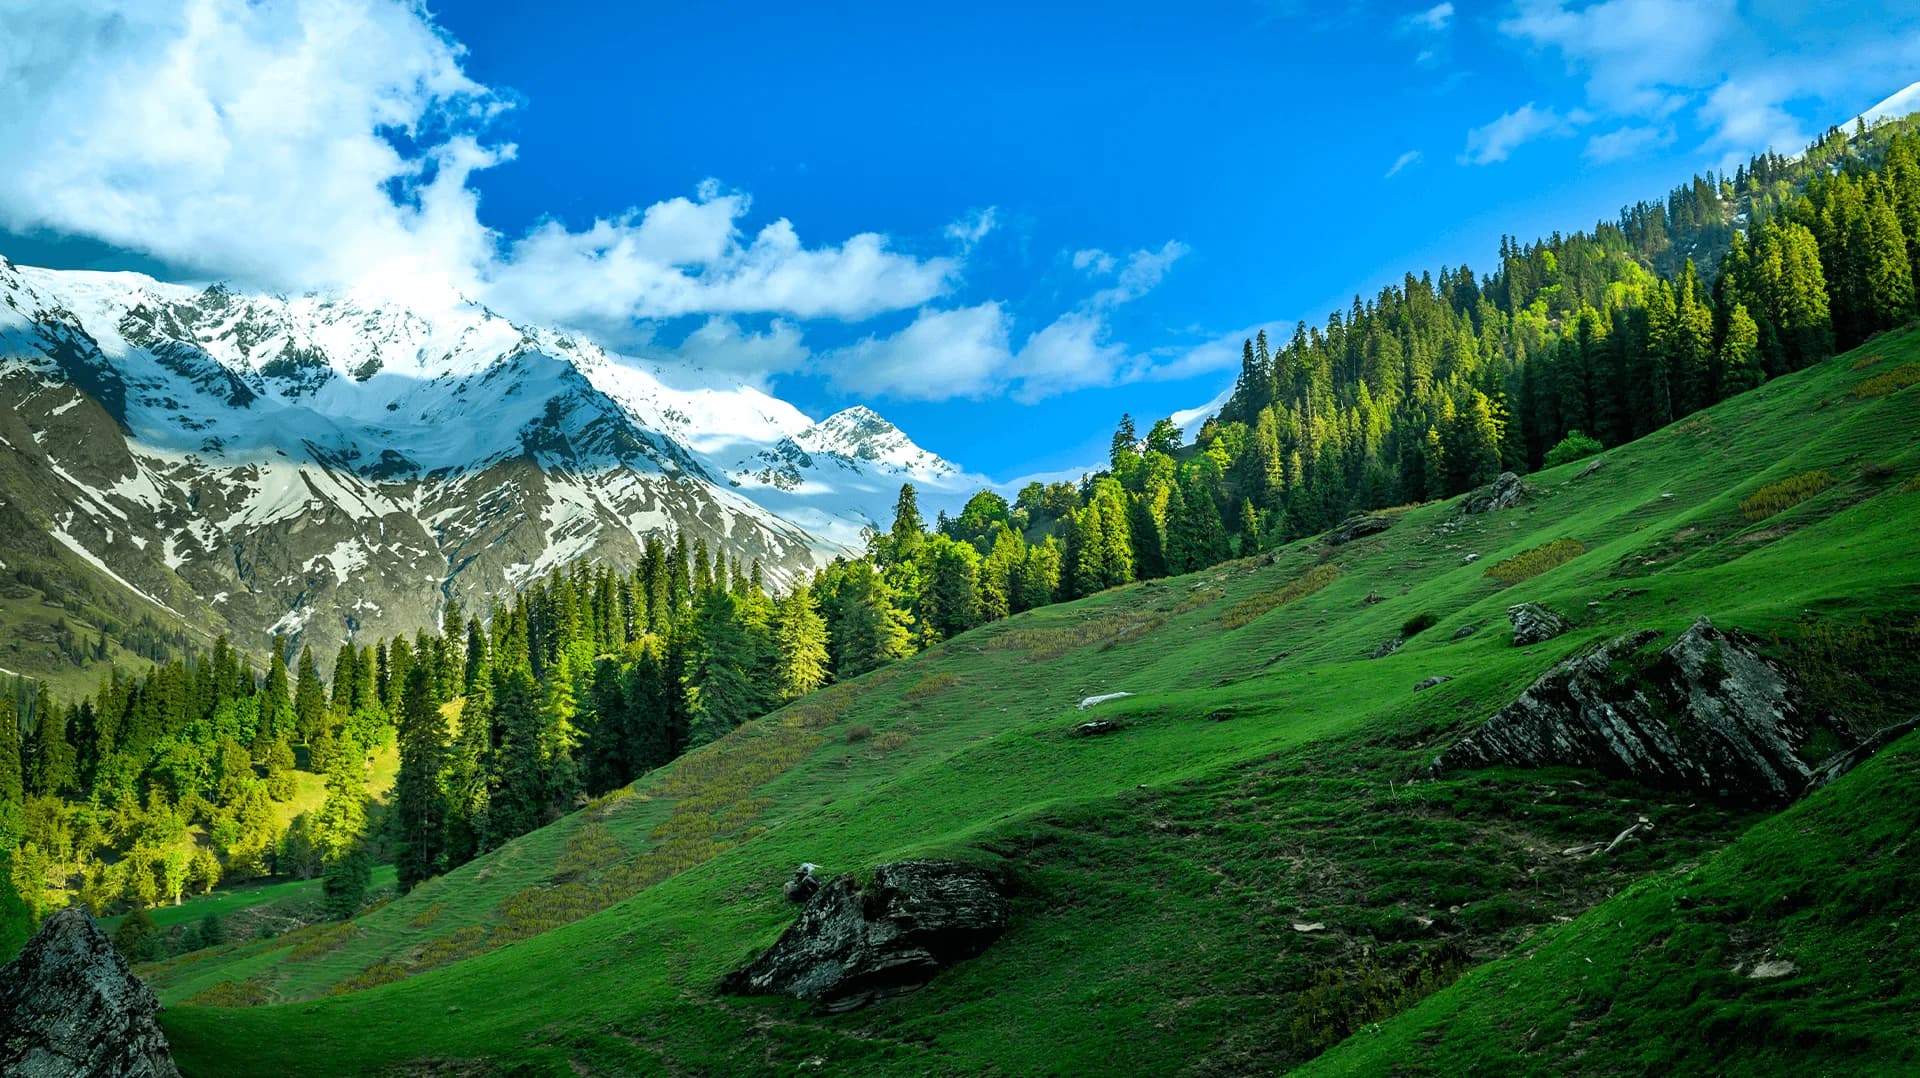
The forest sections are steep, muddy, and covered in slippery roots. The high bugyals are undulating but feature very steep ramparts to actually access the highest ridges.
Summit Day Notes
Gidara Top at 13,900 ft pushes this firmly out of 'beginner meadow' territory. The air is surprisingly thin, requiring a slow, measured ascent.
The Descent
Descending 3,000+ ft from Jeemara to Bhangeli through the forest is punishing on the quadriceps. Double trekking poles are practically mandatory to save your knees.
Preparation
Requires excellent cardiovascular stamina. If you cannot comfortably jog 5k in under 30 minutes, you will suffer immensely on the climbs out of Bhangeli.
Altitude Profile
Rapid unbroken ascent profile maxing out very high at nearly 14,000 ft, meaning AMS is a legitimate hazard.
Run AMS Risk Audit →Route Stress Forecast
Highest exposure point at 13,900ft.
Deep 3,700ft descent will test joint stability.
First major altitude jump occurs on Day 2.
*Forecast derived from route geometry and altitude profile. External variables (weather/group) remain the final authority.
Trail Performance Data
Max Gradient
45%
Hydration
0.5L per km recommended
Loose Surface Sections
- •The descent from Jeemara to Bhangeli
Common Mistakes on Gidara Bugyal Trek
Most injuries and failures on this trail can be avoided by making smarter decisions early on.
Bringing beginner fitness to an advanced-moderate trek simply because it says 'Bugyal'.
Running out of water on the high ridge.
Safety & Medical Risks
Key Risks
AMS at Dokrani/Thalot campsites
Severe knee sprains on descent
Hypothermia if a storm hits the exposed high ridges
AMS (Altitude Sickness)
Moderate to High. 13,900 ft is serious altitude. Headaches and nausea are common if ascents are rushed.
Evacuation Route
Manual mule-carry down back to Bhangeli. Due to the steepness, evacuation is a bone-jarring 8-hour process.
Solo Trekking
Highly discouraged. The area is massive, featureless in fog, and utterly devoid of other human groups to ask for help.
Common Trail Ailments
🏥 Nearest ICU: Uttarkashi District Hospital / AIIMS Rishikesh
Tactical Emergency Hub
> Stretchers are near impossible on the Bhangeli descent switchbacks.
Who Can Do This Trek?
Min Age
14+
Max Age
50
Western Toilets at Base
Yes
Solo Female Travelers
Must join an organized group. Trail is too remote and devoid of people.
Expert Verdict
Highly technical trek requiring physical and mental preparation.
Ready to book? Compare verified operators for Gidara Bugyal Trek — transparent pricing, no paid rankings.
Want to know which operators carry certified guides and medical support? See operator safety ratings for Gidara Bugyal Trek
Also on this trek
Still deciding?
Compare routes side-by-side to find the perfect match for your fitness, dates, and budget.
Still think it's doable? Share this with your trek mate and see if they agree.
Fit for the challenge?
For challenging treks, safety is paramount. Find operators prioritizing medical support and guide expertise.
Compare operator safety scores