
Explore
Intelligence
Detailed Route
Satopanth Tal Trek Itinerary — Day by Day Route & Camps
A 6-day immersive expedition traversing diverse Himalayan landscapes and alpine altitudes.
Standard RouteThis is the standard mountain pacing for this trek. Specific operators may add an acclimatization day or alter the starting point. Check individual operator schedules for their exact logistics.
Duration
6 Days
Total Distance
46 KM
Max Altitude
14,435 FT
Trek Type
circuit
Day by Day Breakdown
Camp Alt
10,280 ft
Day Gain
+9,180 ft
Arrival: Rishikesh to Badrinath
Hotel stay. Evening visit to Badrinath Temple Aarti. Technical: A massive 11-hour drive through the Alaknanda valley. The road from Joshimath to Badrinath is subject to frequent rockfalls. Use Avomine for motion sickness. Badrinath is already at 10.3k ft; hydration is mandatory from the moment you arrive. Safety: Ensure you have your formal Permit Registration from the Joshimath Forest Office/Online. Check oxygen levels tonight.
Key Landmarks
The journey follows the Alaknanda valley, transitioning from the broader plains into the steep-sided topography approaching the high country.
Camp Alt
11,800 ft
Day Gain
+1,520 ft
Reach Laxmivan
First night in tents. Laxmivan is a transition camp from forest to glacial valley. Technical: Trek starts from Mana. The trail to Vasudhara is paved, but beyond that, it turns into a rugged boulder path. The Saraswati river flow is turbulent here. Total focus on foot placement is required. Safety: Mana gate check. Keep your physical Inner Line Permit copies handy. Do not drink directly from the Saraswati; meltwater is silty.
Key Landmarks
Staying At
The settlement narrows into a sparse alpine meadow bordered by the river.
Field Notes
KEY ACTIONRiver Crossings
Plan to cross early in the day before snowmelt swells the water levels. Unclip backpack waist belts before crossing.
Camp Alt
13,300 ft
Day Gain
+1,500 ft
Reach Chakratirtha
Chakratirtha is a high-altitude meadow surrounded by massive peaks. Night temps fall to -5C. Technical: Trek on moraine (glacial debris). No defined path; follow the stone markers (Cairns). High risk of ankle twists on the shifting boulders. Constant incline. Safety: Extreme wind exposure. Check for 'Hotspots' on your feet to prevent blisters; the rocky terrain is harsh on boots.
Key Landmarks
Staying At
Tree line disappears as the valley broadens into a spectacular high-altitude alpine meadow basin, replacing the dense forests with expansive grazing pastures.
Field Notes
Use Trekking Poles
Trekking poles are highly recommended to save your knees on the descent.
INFOSlower Progress
Progress will be significantly slower and more taxing on your ankles than trail distance suggests.
Camp Alt
11,800 ft
Day Gain
-1,500 ft
Today's Objective
🏔 Summit Satopanth Tal
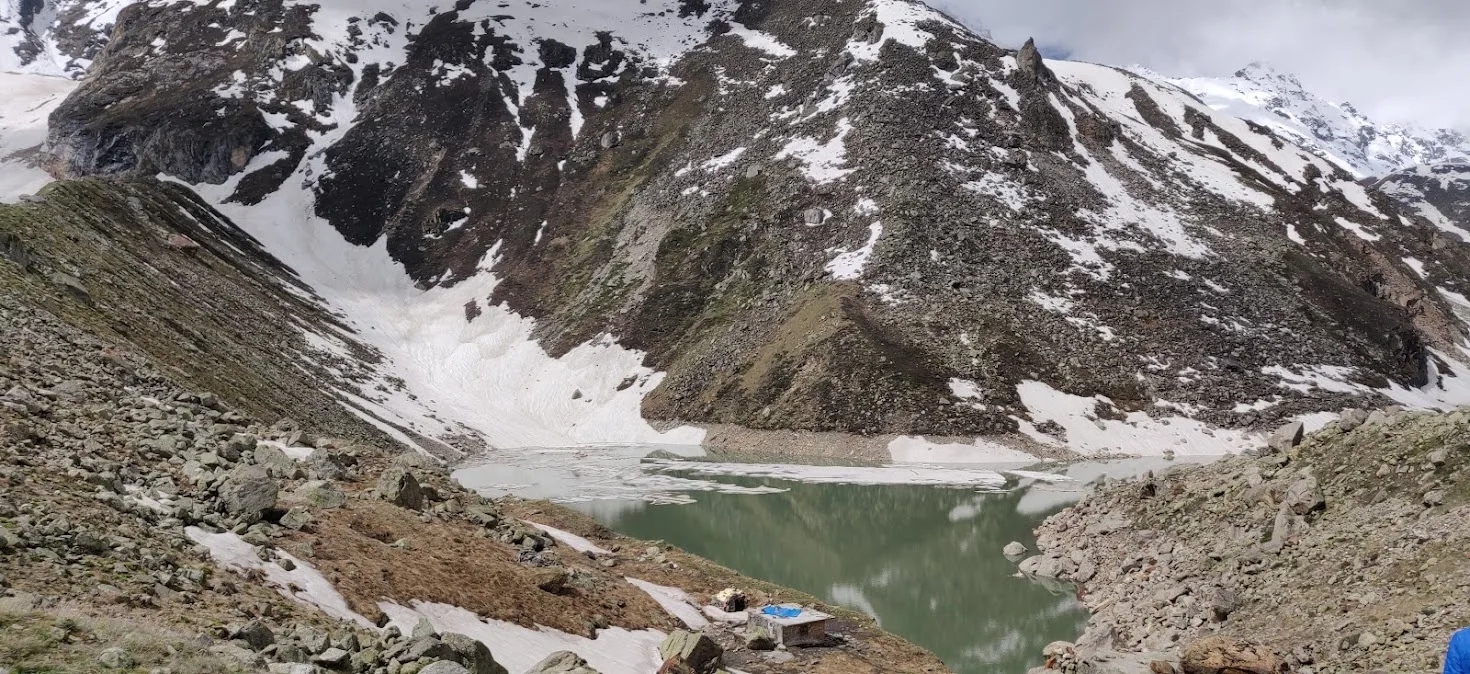
Seeing the deep blue water of Satopanth against the white Chaukhamba is a life-altering sight. Long return walk to Laxmivan. Technical: Crux of the trek. Moving over the Satopanth Glacier. The 'Ridge of Swargarohini' is visible. The final 2km to the lake is a vertical scramble on loose moraine and ice. Use microspikes if frozen. Safety: Turnback Time: 12:30 PM. The glacier section is unstable in the afternoon sun. If clouds move in from Swargarohini, start immediate descent.
Key Landmarks
Staying At
Crossing the high-altitude pass bridges two distinct watershed systems, shifting the expedition over the glaciated divide and down into a new river basin.
Field Notes
Use Trekking Poles
Trekking poles are highly recommended to save your knees on the descent.
INFOSlower Progress
Progress will be significantly slower and more taxing on your ankles than trail distance suggests.
Camp Alt
10,280 ft
Day Gain
-1,520 ft
Return to Badrinath
Evening of rest and celebration in Badrinath. Bathe in the Tapt Kund (Hot Springs). Technical: Fast descent. Be careful with knee impact on the final metal/stone steps leading to Badrinath. Safety: Check in with the Mana checkpost to close your permit. Don't rush; the boulders near Vasudhara are still tricky.
Key Landmarks
The high alpine meadows narrow into forested river terraces as tree line vegetation reappears in the lower Alaknanda valley.
Field Notes
KEY ACTIONRiver Crossings
Plan to cross early in the day before snowmelt swells the water levels. Unclip backpack waist belts before crossing.
Use Trekking Poles
Trekking poles are highly recommended to save your knees on the descent.
INFOSlower Progress
Progress will be significantly slower and more taxing on your ankles than trail distance suggests.
Camp Alt
1,100 ft
Day Gain
-9,180 ft
Drive: Badrinath to Rishikesh
Long return drive. Reach Rishikesh by 8:00 PM.
The mountain valley topography transitions back into the lower foothill river plains.
Trek Extensions & Add-ons
Swargarohini Base Camp
+1 DayExtended trek to the base of the 'Celestial Ladder' glacier for a closer view of the massive ice-walls.
Plan Your Trek:
Ready to book? Compare verified operators for Satopanth Tal Trek — transparent pricing, no paid rankings.
Still deciding?
Compare routes side-by-side to find the perfect match for your fitness, dates, and budget.
Day by day, camp by camp. Send this to your group so everyone's on the same page.
Step 4: Cost & Logistics
You understand the route.
Now see what services, permits, and logistics actually cost.
View Cost Breakdown