
Explore
Intelligence
Difficulty & Readiness Guide
Is Chaainsheel Bugyal Trek Difficult? — Fitness & Altitude Guide
Easy to Moderate. A very safe, beautifully paced trek. The altitude gain is gradual, and there are no technical sections, making it perfect for beginners.
The Question
Can I do this trek?
Preparation Required
Intermediate
Prior Experience
Recommended: 1-2 easy Himalayan treks or regular hiking experience.
Expert Verdict
Highly technical trek requiring physical and mental preparation.
Chaainsheel Bugyal Trek
Himalayan Placement · Index 38Route Knowledge
Why is it difficult?
Exertion Index
Primary Challenge
Route Identity
High-impact route characterised by steep gradients and heavy joint loading.
Primary Drivers
- Maximum sleeping altitude of 10,500 ft
- 4 consecutive high-output trekking days
- Peak daily distance of 16 km
View Full Route Analysis
Physiological Demand
Notable elevation gains and losses requiring good leg strength and joint resilience.
Challenging daily distances and steady climbs. Good cardiovascular fitness is required.
Multi-day camping requiring mental toughness to handle weather and fatigue debt.
Below the major effects of altitude sickness. Air remains relatively dense.
Well-defined, stable trails with no technical maneuvers required.
Terrain Breakdown
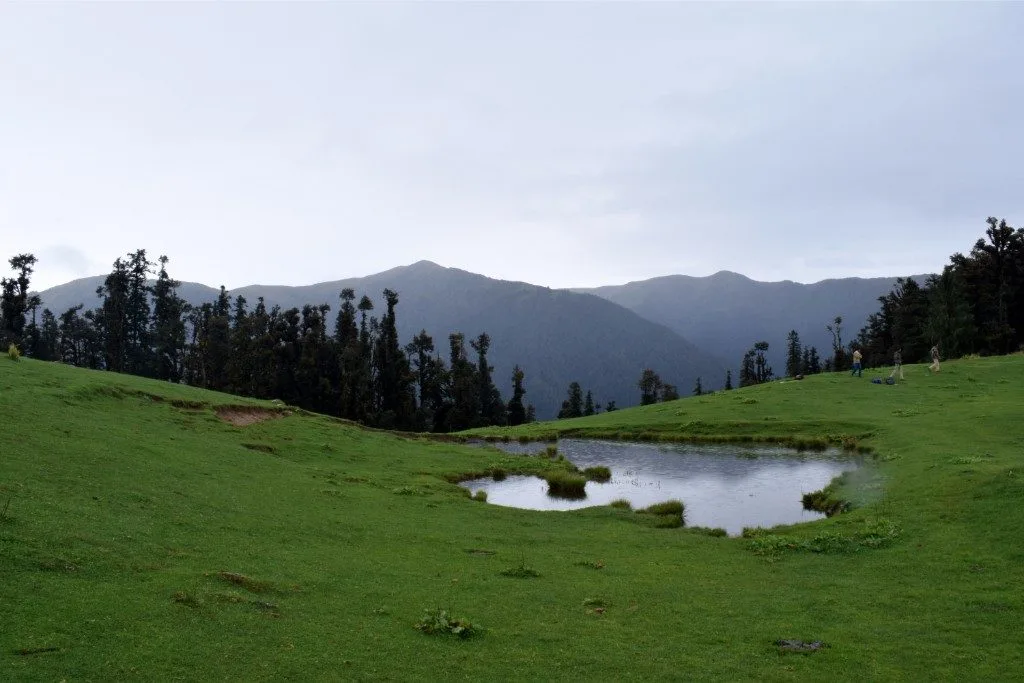
The trail is a classic mix of steep, root-covered forest floor at the lower elevations, transitioning to soft, rolling alpine grass at the bugyals.
Summit Day Notes
The summit day (Day 4) is relatively easy compared to technical peak treks. The slopes are gentle, and you are hiking without a heavy backpack.
The Descent
The massive 5,000 ft descent on Day 5 is the most physically taxing part of the trek on your joints.
Altitude Profile
Excellent and safe. You sleep at 8,800 ft and 10,500 ft before ever touching 11,750 ft, drastically minimizing AMS risks.
Run AMS Risk Audit →Trail Performance Data
Max Gradient
25%
Hydration
0.7L per km recommended
Loose Surface Sections
- •Minor sections of pine needles on the forest descent
Personal Readiness
Am I ready?
What this route demands
People who feel comfortable on this route can usually:
Who Can Do This Trek?
Min Age
10+
Max Age
60
Western Toilets at Base
Yes
Solo Female Travelers
Very safe when trekking with an organized group. Do not trek solo.
Hazard Profile
What goes wrong?
Common Mistakes on Chaainsheel Bugyal Trek
Most injuries and failures on this trail can be avoided by making smarter decisions early on.
Not bringing trekking poles. The Day 5 descent will destroy unprotected knees.
Underestimating the cold. Even in May, the wind sweeping across the 11,750 ft ridge is freezing.
Skipping sun protection. The UV radiation on the exposed bugyals is intense.
Safety & Medical Risks
Key Risks
Knee strain on the massive Day 5 descent
Getting lost in the meadows if heavy fog drops visibility to zero
Motion sickness on the winding drive from Dehradun
AMS (Altitude Sickness)
Low risk. The gradual ascent and sleeping altitudes below 11,000 ft make this a very safe trek for altitude.
Evacuation Route
Ground evacuation is reliable. A patient can be transported via mules down the forest trail to Himari in 4-6 hours.
Solo Trekking
Not recommended. The trails are unmarked and split frequently in the forest. Fog in the bugyals makes navigation impossible without local knowledge.
Common Trail Ailments
🏥 Nearest ICU: Dehradun
Tactical Emergency Hub
> Mule evacuation down the wide forest trail is the standard procedure.
Auditability
How is this calculated?
Understand This Route Further
Before attempting this route:
Still deciding?
Compare routes side-by-side to find the perfect match for your fitness, dates, and budget.
Still think it's doable? Share this with your trek mate and see if they agree.
Step 2: Seasonal Safety
You know how demanding this route is.
Now find the safest and most reliable season to attempt it.
Check Best Time to Go