
Explore
Intelligence
Detailed Route
Hanuman Tibba Expedition Itinerary — Day by Day Route & Camps
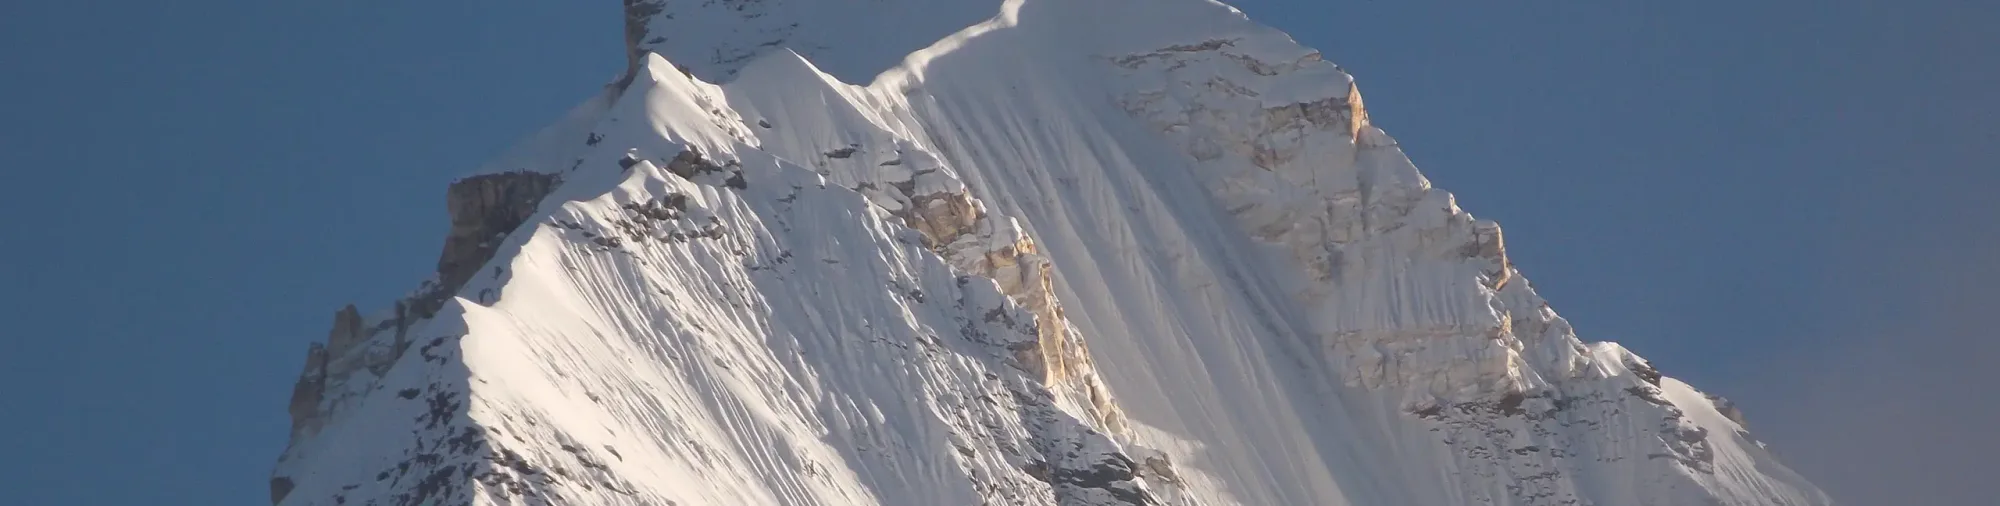
10-day expedition from Manali via the iconic Beas Kund glacier approach, crossing the brutal Tentu La to the 1912 first-ascent summit at 5,982m.
Standard RouteThis is the baseline pacing strategy for this expedition. Expedition leaders frequently modify rotation schedules, add reserve weather days, or adjust high camps based on real-time mountain conditions. Consult the operator's expedition dossier for their precise approach.
Duration
10 Days
Total Distance
45 KM
Max Altitude
19,626 FT
Trek Type
Standard
Permits Required Before You Go
Permit Cost
Foreigner Process
Expedition visa setup required if going via recognized bodies, though basic IMF peak fees act as a blanket cover for most commercial teams.
Nearest Embassy Hub
New Delhi
Day by Day Breakdown
Camp Alt
6,730 ft
Day Gain
-3,110 ft
Today's Objective
☕ Acclimatization & Recovery
Rest at 2,050m. Gear audit and briefing.
The team holds position within the alpine meadow basin, monitoring weather patterns and adapting to the thinning atmosphere.
Camp Alt
9,840 ft
Day Gain
+3,110 ft
Drive to Dhundi & Trek to Beas Kund
Drive up Solang Valley to Dhundi roadhead. Begin trek towards Beas Kund.
Key Landmarks
The rugged alpine terrain opens up to reveal a spectacular high-altitude glacial tarn, serving as a critical hydrological node in the upper watershed.
Field Notes
KEY ACTIONRiver Crossings
Plan to cross early in the day before snowmelt swells the water levels. Unclip backpack waist belts before crossing.
Camp Alt
12,140 ft
Day Gain
+2,300 ft
Reach Base Camp
Through the famous Beas Kund meadows. Base camp at the edge of the glacier at ~3,700m.
Key Landmarks
Vegetation gives way to barren glacial debris as the route enters the expansive moraine basin and ablation zone of the glaciated upper watershed.
Field Notes
Use Trekking Poles
Trekking poles are highly recommended to save your knees on the descent.
INFOSlower Progress
Progress will be significantly slower and more taxing on your ankles than trail distance suggests.
Camp Alt
12,140 ft
Day Gain
0 ft
Today's Objective
☕ Acclimatization & Recovery
Day hike on the glacier. Technical skills: crampon, ice-axe, self-arrest, rope management on live ice.
Key Landmarks
The team holds position within the alpine meadow basin, monitoring weather patterns and adapting to the thinning atmosphere.
Camp Alt
14,760 ft
Day Gain
+2,620 ft
Today's Objective
☕ Acclimatization & Recovery
Carry gear to ABC at ~4,500m near the base of Tentu La. Return to BC to sleep — rotation.
Key Landmarks
The expedition remains stationed within the high-altitude ablation zone, adjusting to the stark environment where exposed scree and ice dominate the glaciated upper watershed.
Field Notes
KEY ACTIONHelmet Mandatory
Helmet mandatory. Move quickly and quietly through the rockfall zone without stopping to rest.
Use Trekking Poles
Trekking poles are highly recommended to save your knees on the descent.
INFOSlower Progress
Progress will be significantly slower and more taxing on your ankles than trail distance suggests.
Camp Alt
12,140 ft
Day Gain
-2,620 ft
Today's Objective
☕ Acclimatization & Recovery
Recovery and weather window assessment.
The team holds position within the alpine meadow basin, monitoring weather patterns and adapting to the thinning atmosphere.
Camp Alt
14,760 ft
Day Gain
+2,620 ft
Shift to Advance Camp
Establish at ABC. Early dinner, sleep by 7 PM for 1 AM start.
Vegetation gives way to barren glacial debris as the route enters the expansive moraine basin and ablation zone of the glaciated upper watershed.
Field Notes
KEY ACTIONRoped Travel
Requires roped glacier travel.
KEY ACTIONStart Early
Start before sunrise to ensure snow bridges remain solid.
KEY ACTIONVertical Sections
Expect steep sections requiring jumars and rappelling on fixed lines.
KEY ACTIONHarness Gear
Harness-compatible gear is mandatory.
KEY ACTIONHelmet Mandatory
Helmet mandatory. Move quickly and quietly through the rockfall zone without stopping to rest.
Camp Alt
14,760 ft
Day Gain
0 ft
Today's Objective
🏔 Summit Tentu La
Alpine start at 1 AM. Tentu La crossing at 75–80° gradient with fixed ropes. Summit push on the exposed ridge to 5,982m. Hard turnaround at 10 AM. Return to ABC.
Key Landmarks
The final ascent leaves the upper glacial basin for the exposed summit ridges, offering panoramic views across the watershed divide before descending back to the icefields.
Field Notes
KEY ACTIONRoped Travel
Requires roped glacier travel.
KEY ACTIONStart Early
Start before sunrise to ensure snow bridges remain solid.
KEY ACTIONVertical Sections
Expect steep sections requiring jumars and rappelling on fixed lines.
KEY ACTIONHarness Gear
Harness-compatible gear is mandatory.
Camp Alt
10,800 ft
Day Gain
-3,960 ft
Descend to Base Camp
Descend from Advance Camp, carefully navigating the Tentu Pass down to the meadows of Bakkarthach.
Key Landmarks
The barren ice and moraine of the upper basin transition quickly back into alpine scrub and alpine meadow basin as the route loses elevation.
Field Notes
Use Trekking Poles
Trekking poles are highly recommended to save your knees on the descent.
INFOSlower Progress
Progress will be significantly slower and more taxing on your ankles than trail distance suggests.
Camp Alt
6,730 ft
Day Gain
-4,070 ft
Trek to Dhundi & Drive to Manali
Descend directly from Bakkarthach to the Dhundi roadhead, then drive to Manali.
Key Landmarks
The barren ice and moraine of the upper basin transition quickly back into alpine scrub and alpine meadow basin as the route loses elevation.
Camp Alt
6,730 ft
Day Gain
0 ft
Departure
End of expedition.
The motorable road navigates deeper into the mountain river corridor, where the landscape transitions from lower foothills into the steep, dense forested valleys.
Expedition Extensions & Add-ons
Suraj Tal Exploration
+0 DayOn Day 3, walk down to the nearby Suraj Tal, a stunning emerald green glacial lake right on the highway.
Camp-by-Camp Details
Beas Kund Base Camp
Base Camp
Water
Beas Kund stream
Wind
Low-Moderate
Night Temp
-3°C
Advance Camp (Tentu La Base)
High Camp
Water
Snow melt
Wind
High
Night Temp
-12°C
Navigation & Route Data
Key Waypoints
Critical Navigation Notes
Route finding on scree can be tricky in the dark.
Plan Your Expedition:
Ready to book? Compare verified operators for Hanuman Tibba Expedition — transparent pricing, no paid rankings.
Still deciding?
Compare routes side-by-side to find the perfect match for your fitness, dates, and budget.
Day by day, camp by camp. Send this to your group so everyone's on the same page.
Step 4: Safety & Framework
You understand the route.
Now understand the hazards, physiology, and Go/No-Go decision framework.
View Safety Framework