
Explore
Intelligence
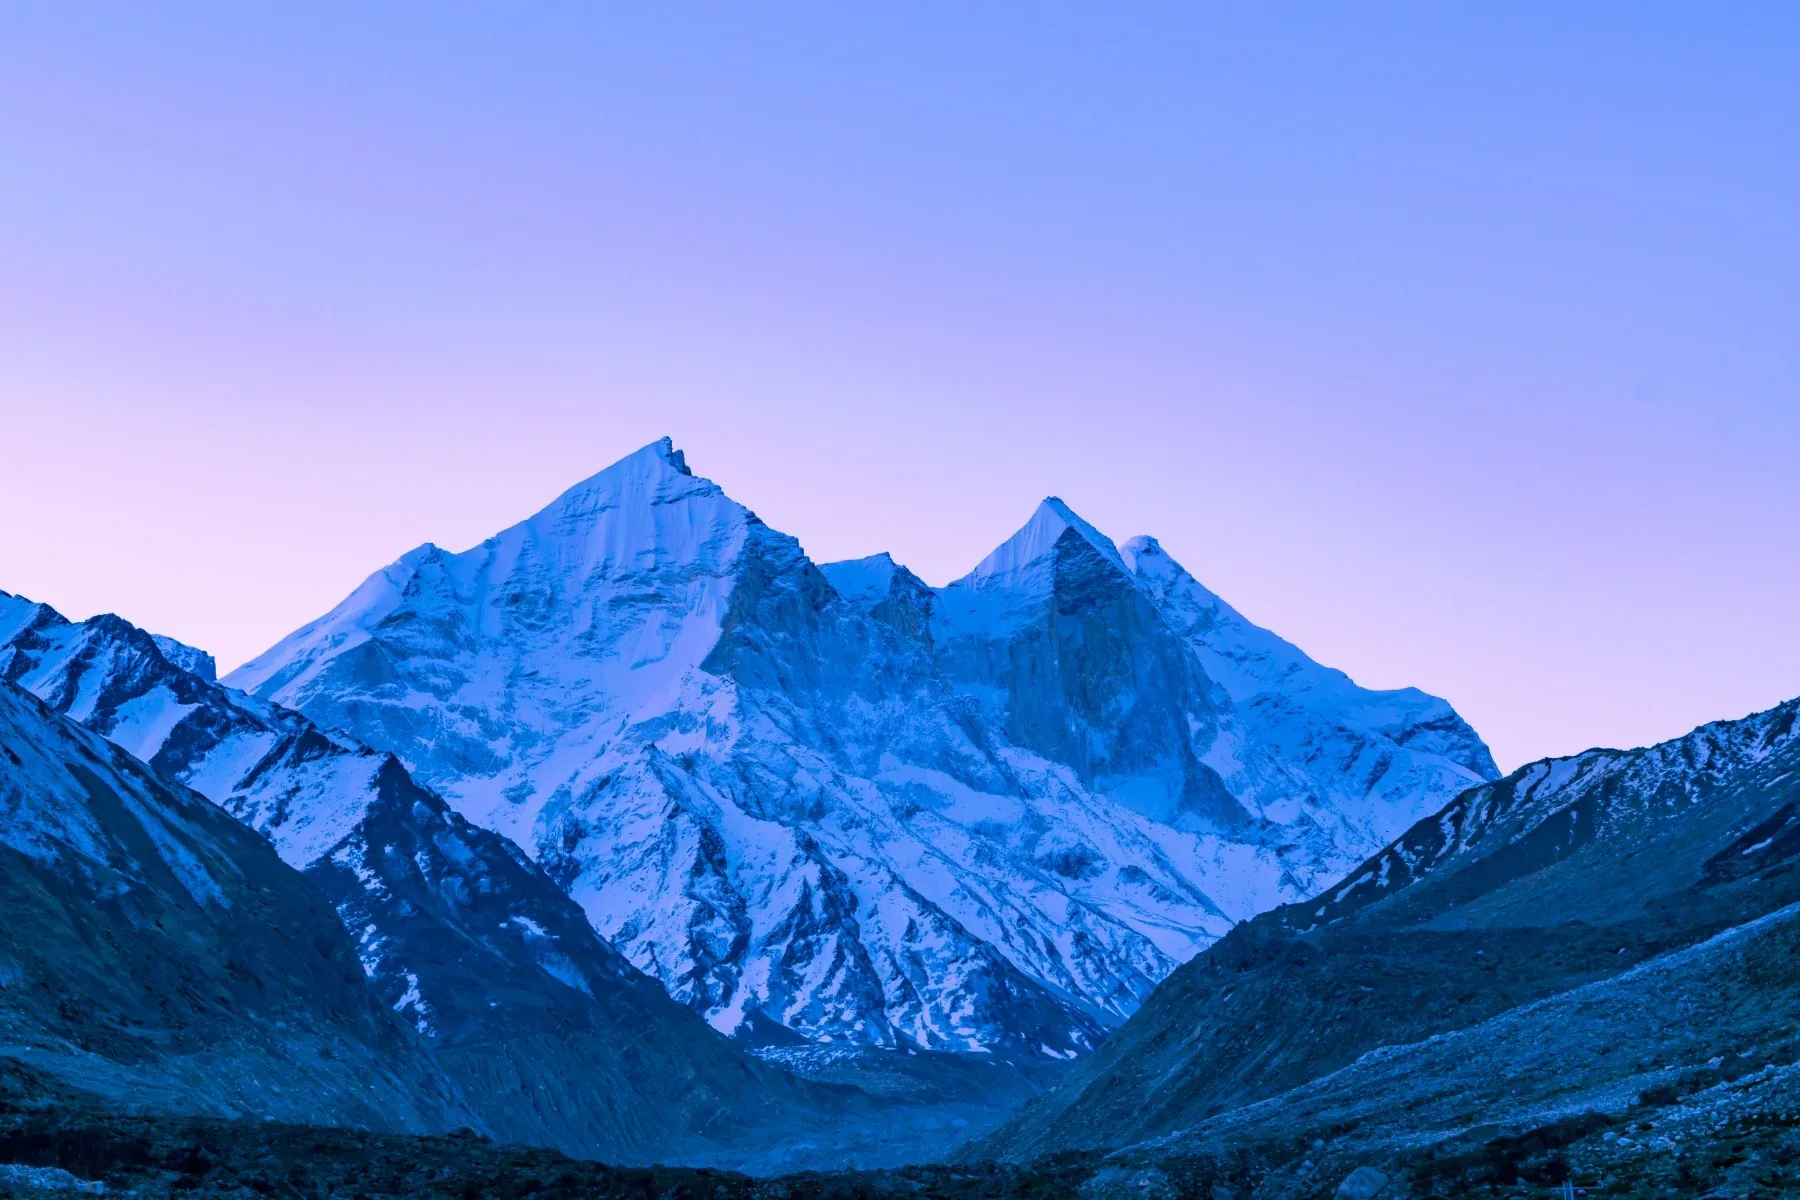
Detailed Route
Bhagirathi II Peak Expedition Itinerary — Day by Day Route & Camps
Itinerary spanning 15 days starting from Gangotri.
Standard RouteThis is the baseline pacing strategy for this expedition. Expedition leaders frequently modify rotation schedules, add reserve weather days, or adjust high camps based on real-time mountain conditions. Consult the operator's expedition dossier for their precise approach.
Duration
15 Days
Total Distance
80 KM
Max Altitude
21,365 FT
Trek Type
linear
Permits Required Before You Go
Permit Cost
Foreigner Process
IMF peak booking registration, Inner Line Permit (if near border), and mountaineering visa.
Nearest Embassy Hub
New Delhi
Day by Day Breakdown
Camp Alt
10,170 ft
Day Gain
0 ft
Drive to Gangotri
Drive along Bhagirathi River. 8 hrs.
Key Landmarks
The road follows the Bhagirathi river gorge deep into the Garhwal Himalayas, transitioning from the broader lower valleys into the steep, pine-clad canyons approaching Gangotri.
Camp Alt
10,170 ft
Day Gain
0 ft
Today's Objective
☕ Acclimatization & Recovery
A vital day at 10,000ft to begin acclimatization. The team hikes towards Surya Kund and the local shrines, focusing on deep breathing and establishing a solid hydration baseline before entering the wilderness.
Key Landmarks
The team holds position within the high alpine basin, monitoring barometric shifts and weather patterns in the shadow of the Bhagirathi massif.
Camp Alt
12,440 ft
Day Gain
+2,270 ft
Reach Bhojbasa
Trek alongside the roaring Bhagirathi river, passing through the fragile pine forests of Chirbasa. The trail features active rockfall zones and dusty, exposed sections and a gradual altitude gain.
Key Landmarks
Tree line disappears completely as the valley opens up, replacing the dense pine forests with the barren, rocky landscape of the upper Bhagirathi basin.
Field Notes
KEY ACTIONRiver Crossings
Plan to cross early in the day before snowmelt swells the water levels. Unclip backpack waist belts before crossing.
Use Trekking Poles
Trekking poles are highly recommended to save your knees on the descent.
INFOSlower Progress
Progress will be significantly slower and more taxing on your ankles than trail distance suggests.
Camp Alt
14,400 ft
Day Gain
+1,960 ft
Reach Nandanvan Base Camp
Cross Gaumukh snout and hike up to Nandanvan meadow.
Key Landmarks
Crossing the massive snout of the Gangotri Glacier, the route ascends onto a high-altitude ablation valley, transitioning from fractured ice to the stark alpine meadows of Nandanvan.
Field Notes
Use Trekking Poles
Trekking poles are highly recommended to save your knees on the descent.
INFOSlower Progress
Progress will be significantly slower and more taxing on your ankles than trail distance suggests.
Camp Alt
14,400 ft
Day Gain
0 ft
Today's Objective
☕ Acclimatization & Recovery
A traditional Puja ceremony is conducted at Nandanvan to seek safe passage. The team utilizes this day for mandatory rest, equipment sorting, and physiological recovery at 14,000+ ft.
Key Landmarks
The team holds position within the high alpine basin, monitoring barometric shifts and weather patterns in the shadow of the Bhagirathi massif.
Camp Alt
14,400 ft
Day Gain
0 ft
Today's Objective
☕ Acclimatization & Recovery
The team conducts vital drills on fixed ropes, jumaring, and crevasse rescue techniques. Perfecting these technical skills is essential before moving onto the steeper sections of the Bhagirathi slopes.
Key Landmarks
The route leaves the alpine meadows of Nandanvan, transitioning fully onto the permanent snow slopes and rocky moraine of the upper glaciated basin.
Field Notes
KEY ACTIONHarness Gear
Harness-compatible gear is mandatory.
Use Trekking Poles
Trekking poles are highly recommended to save your knees on the descent.
INFOPacing Delays
Slower pacing expected due to bottlenecking on fixed lines.
INFOSlower Progress
Progress will be significantly slower and more taxing on your ankles than trail distance suggests.
Camp Alt
14,400 ft
Day Gain
0 ft
Load Ferry to Camp 1
An effort hauling heavy gear over the unstable boulders of the lateral moraine. The high-angle terrain forces slow, deliberate pacing to prevent altitude exhaustion.
Key Landmarks
Staying At
The route leaves the alpine meadows of Nandanvan, transitioning fully onto the permanent snow slopes and rocky moraine of the upper glaciated basin.
Field Notes
KEY ACTIONRoped Travel
Requires roped glacier travel.
KEY ACTIONStart Early
Start before sunrise to ensure snow bridges remain solid.
KEY ACTIONHelmet Mandatory
Helmet mandatory. Move quickly and quietly through the rockfall zone without stopping to rest.
Use Trekking Poles
Trekking poles are highly recommended to save your knees on the descent.
INFOSlower Progress
Progress will be significantly slower and more taxing on your ankles than trail distance suggests.
Camp Alt
17,200 ft
Day Gain
+2,800 ft
Establish Camp 1
Trek and pitch tents at Camp 1 on the snowline.
Key Landmarks
Staying At
The route leaves the alpine meadows of Nandanvan, transitioning fully onto the permanent snow slopes and rocky moraine of the upper glaciated basin.
Field Notes
Use Trekking Poles
Trekking poles are highly recommended to save your knees on the descent.
INFOSlower Progress
Progress will be significantly slower and more taxing on your ankles than trail distance suggests.
Camp Alt
17,200 ft
Day Gain
0 ft
Load Ferry to Camp 2
Ascend steep snow slope carrying high camp gear. Return to Camp 1.
Key Landmarks
Staying At
The route leaves the alpine meadows of Nandanvan, transitioning fully onto the permanent snow slopes and rocky moraine of the upper glaciated basin.
Field Notes
KEY ACTIONRoped Travel
Requires roped glacier travel.
KEY ACTIONStart Early
Start before sunrise to ensure snow bridges remain solid.
KEY ACTIONHarness Gear
Harness-compatible gear is mandatory.
Use Trekking Poles
Trekking poles are highly recommended to save your knees on the descent.
INFOPacing Delays
Slower pacing expected due to bottlenecking on fixed lines.
Camp Alt
19,400 ft
Day Gain
+2,200 ft
Shift to Camp 2
Move up through complex snow and ice terrain to establish Camp 2. The tents are pitched on a highly exposed ridge, requiring secure anchoring against the fierce Himalayan wind shear.
Key Landmarks
Staying At
Ascending higher into the ablation zone, the landscape is defined entirely by steep snow slopes and exposed rockfall zones beneath the Bhagirathi massif.
Field Notes
KEY ACTIONRoped Travel
Requires roped glacier travel.
KEY ACTIONStart Early
Start before sunrise to ensure snow bridges remain solid.
KEY ACTIONHarness Gear
Harness-compatible gear is mandatory.
Use Trekking Poles
Trekking poles are highly recommended to save your knees on the descent.
INFOPacing Delays
Slower pacing expected due to bottlenecking on fixed lines.
Camp Alt
14,400 ft
Day Gain
-5,000 ft
Today's Objective
🏔 Summit Mt Bhagirathi II
Alpine start at midnight. Cross bergschrund, scale 45-degree snow-ice wall. Summit. Descend to BC.
Key Landmarks
The final ascent leaves the glacial basin entirely for the exposed upper summit ridges, offering panoramic views across the Gangotri watershed before descending back to the icefields.
Field Notes
KEY ACTIONRoped Travel
Requires roped glacier travel.
KEY ACTIONStart Early
Start before sunrise to ensure snow bridges remain solid.
KEY ACTIONVertical Sections
Expect steep sections requiring jumars and rappelling on fixed lines.
KEY ACTIONHarness Gear
Harness-compatible gear is mandatory.
Camp Alt
14,400 ft
Day Gain
0 ft
Today's Objective
☕ Acclimatization & Recovery
Reserve day built into the timeline. Weather delays on the Bhagirathi massif can require waiting for a stable summit window.
Key Landmarks
The team holds position within the high alpine basin, monitoring barometric shifts and weather patterns in the shadow of the Bhagirathi massif.
Camp Alt
10,170 ft
Day Gain
-4,230 ft
Descend to Gangotri
A long, steep descent tracing the river back to Gangotri. Trekkers must remain highly focused to avoid careless slips on the loose, dusty trails of Chirbasa as physical fatigue peaks.
Key Landmarks
The barren ice and moraine of the upper basin transition quickly back into the dense pine forests of the lower Bhagirathi gorge.
Field Notes
KEY ACTIONRiver Crossings
Plan to cross early in the day before snowmelt swells the water levels. Unclip backpack waist belts before crossing.
Camp Alt
2,000 ft
Day Gain
-8,170 ft
Drive to Dehradun
Drive back. End of expedition.
Key Landmarks
The mountain valley topography transitions back into the lower foothill river plains of the Ganges basin.
Camp Alt
2,000 ft
Day Gain
0 ft
Departure
Depart.
Key Landmarks
The journey concludes in the lower plains.
Expedition Extensions & Add-ons
Gangotri Heritage Walk
+1 DayExplore local traditional temples and villages in the base region.
Camp-by-Camp Details
Nandanvan Base Camp
Base Camp
Water
Glacial stream melt
Wind
Moderate
Night Temp
-8°C
Camp 1 (Sundar Bamak)
High Camp
Water
Snow melt required
Wind
High
Night Temp
-15°C
Camp 2
High Camp
Water
Snow melt
Wind
High
Night Temp
-18°C
Navigation & Route Data
Magnetic Declination
+1.5°
Key Waypoints
Critical Navigation Notes
Glacier approach is prone to crevasse shifts; route must be wanded.
Ridge section requires rope fixing and pathfinding on wind-blown snow.
Maintain compass bearings in whiteout conditions.
Plan Your Expedition:
Ready to book? Compare verified operators for Bhagirathi II Peak Expedition — transparent pricing, no paid rankings.
Still deciding?
Compare routes side-by-side to find the perfect match for your fitness, dates, and budget.
Day by day, camp by camp. Send this to your group so everyone's on the same page.
Step 4: Safety & Framework
You understand the route.
Now understand the hazards, physiology, and Go/No-Go decision framework.
View Safety Framework