
Explore
Intelligence
Jhinda Bugyal vs Sundardhunga Valley
Which trek should you attempt next?
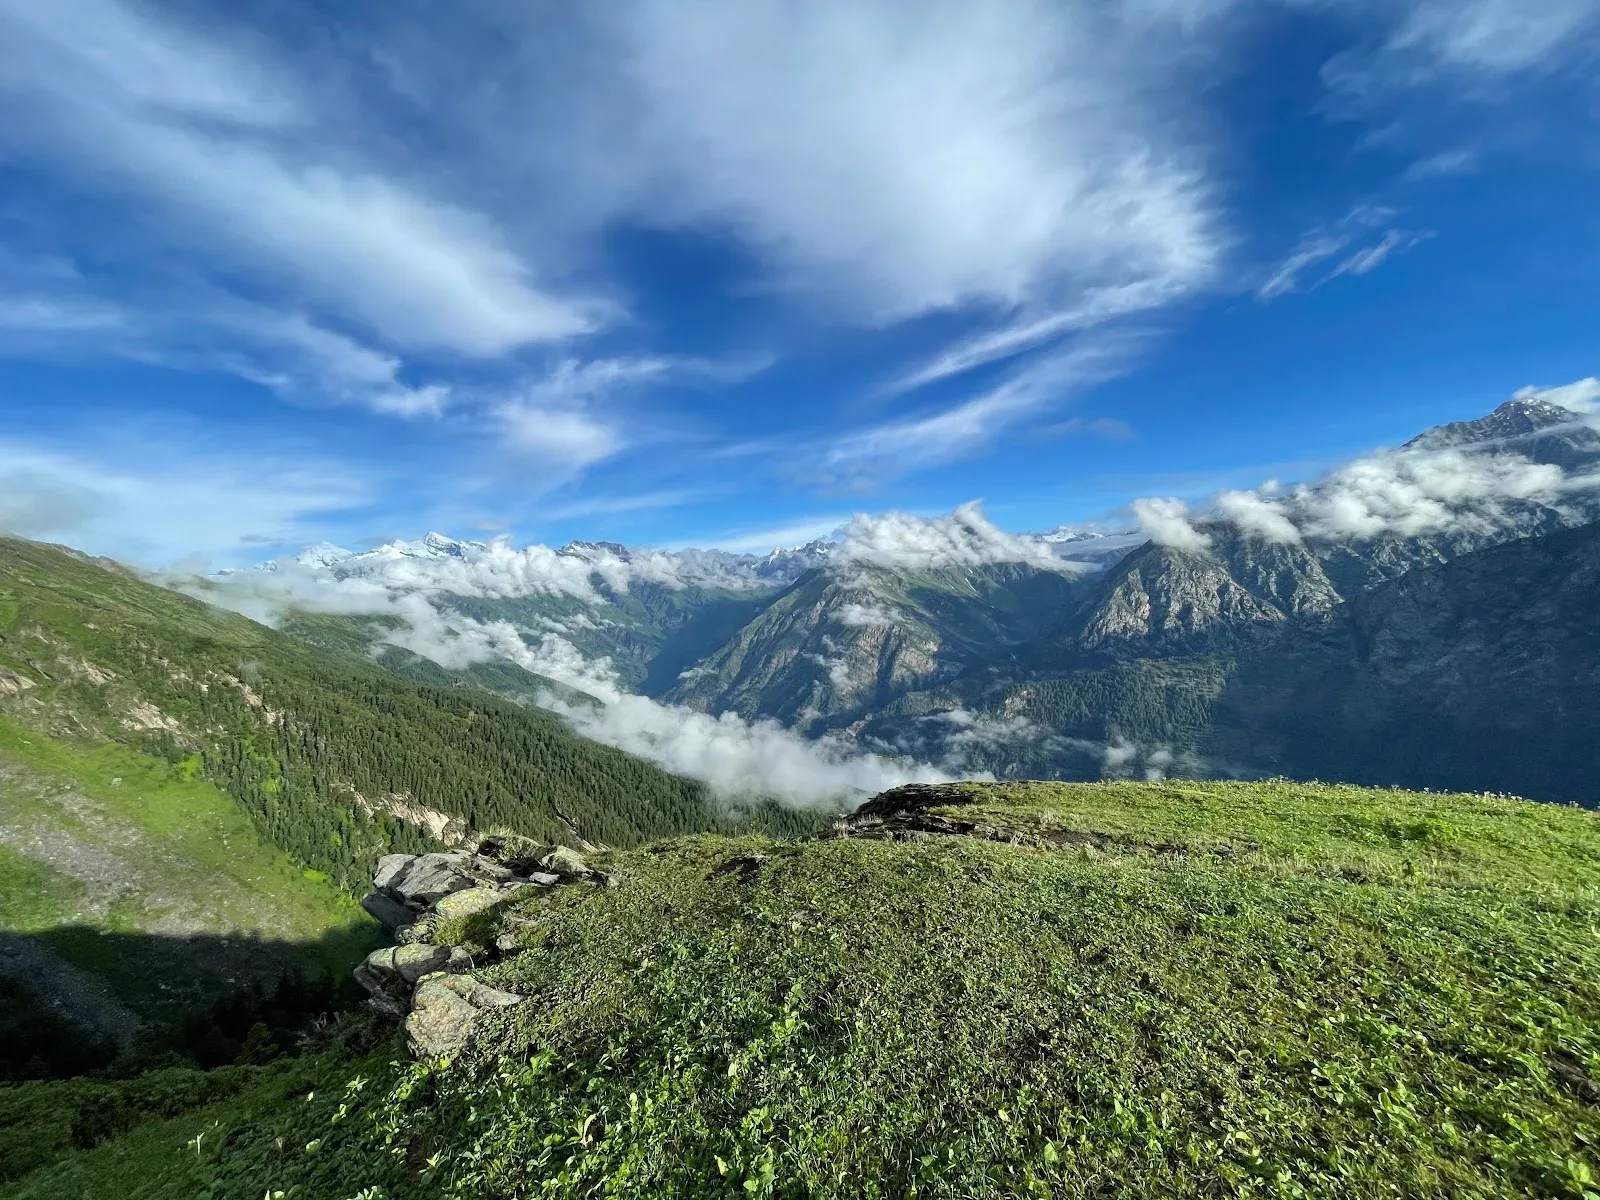
Jhinda Bugyal Trek
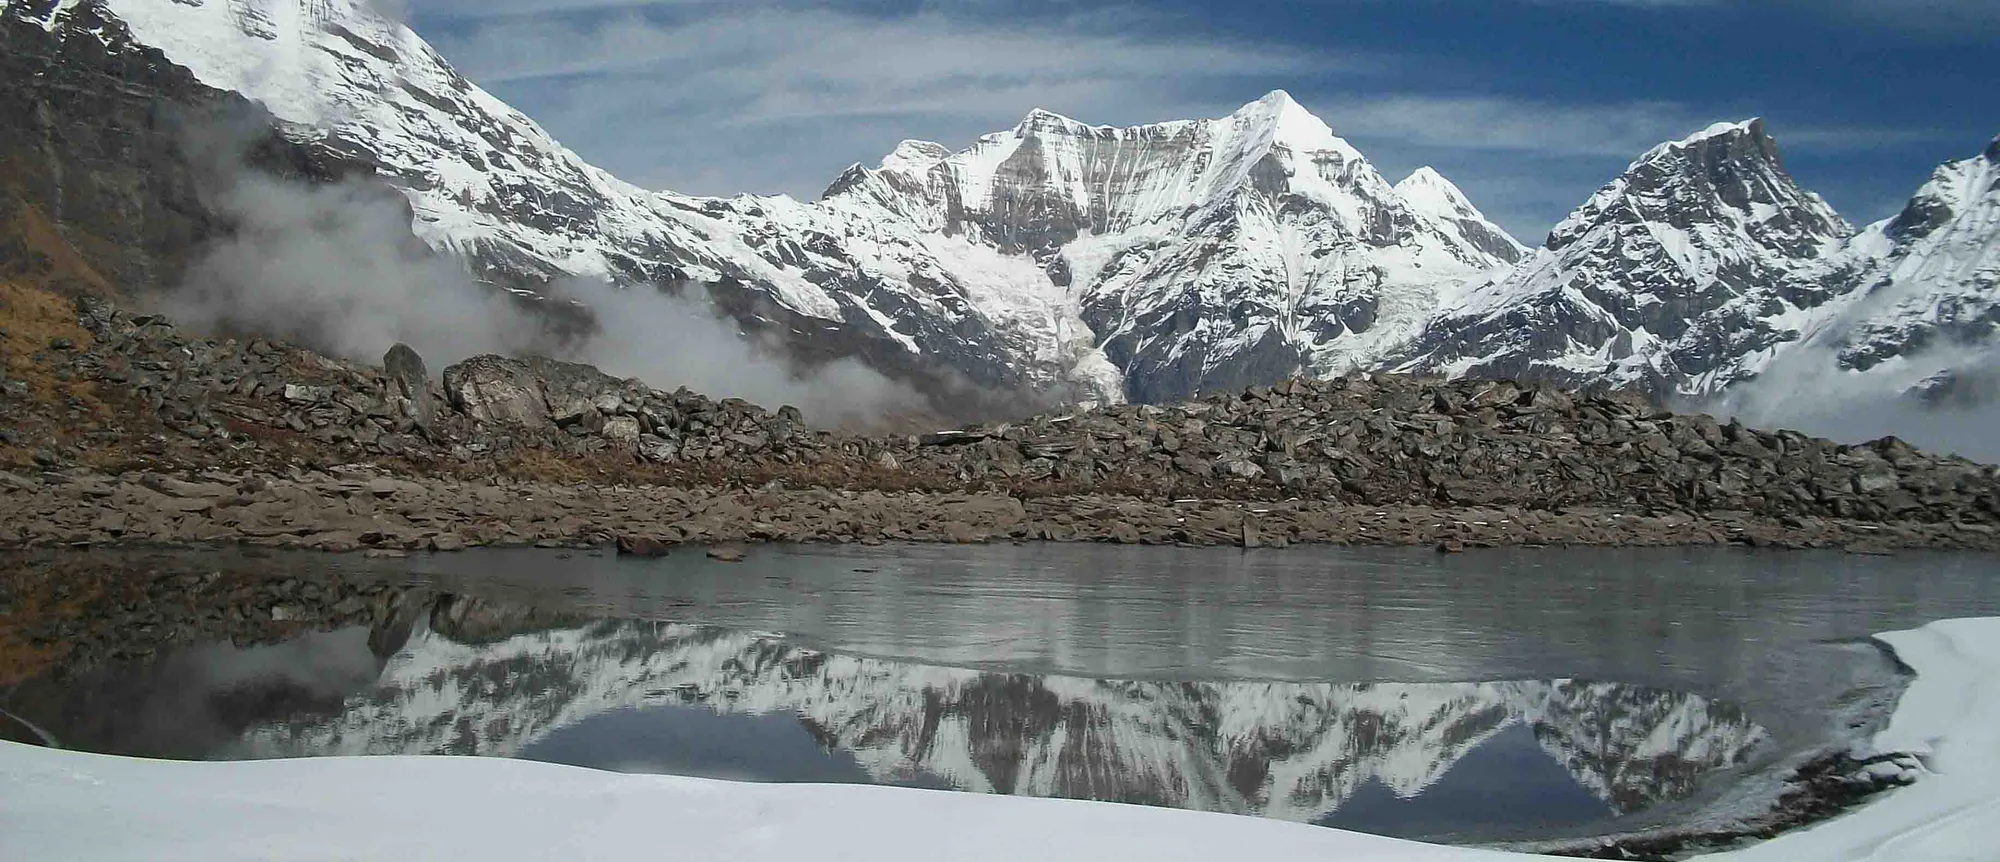
Sundardhunga Valley Trek
Jhinda Bugyal — The perfect progression trek
Sundardhunga Valley — The more punishing physical test
MountRoutes Recommendation
Jhinda Bugyal is best if safer, more predictable progression path
Sundardhunga Valley is best if maximum high-altitude exposure is your absolute priority
At A Glance
Why They Differ
Altitude Profile
Your Next Step
Choose the hardest trek you've completed. We'll show how these routes compare.
Choose an anchor trek to see your personalized difficulty mapping.
Progression is one thing.
Physical readiness is another.
Your Fitness Matchboard
Can your body handle these routes?
Find out whether you're ready now, need more training, or should choose an easier objective. Takes 2 minutes.
Best For
Final Recommendation
Baseline RecommendationMountRoutes Pick
Jhinda Bugyal
Why we recommend this
Jhinda Bugyal provides a concise, focused objective requiring less total trail endurance, making it a highly efficient entry point.
- Safer, more predictable progression path
- Significantly lower altitude burden and hypoxia risk
- Requires less sustained trail endurance (shorter duration)
- Optimal benchmark for first-time or transitioning aspirants
Alternative Pick
Sundardhunga Valley
Choose instead if...
- Maximum high-altitude exposure is your absolute priority
- You have proven, recent acclimatization confidence above 15,000ft
- You already have strong technical or multi-day expedition experience
The Hardest Day
MethodologyBoth routes are demanding. But they test different capabilities.
Jhinda Bugyal · Hardest Day
Reach Jhinda Bugyal
Why Trekkers Struggle
Most trekkers fail on Jhinda Bugyal because the route compresses a massive amount of altitude gain into a short window. Even fit climbers often begin experiencing acute hypoxia symptoms before their bodies can properly adapt.
Best Suited For
Athletes who can maintain high cardiovascular output even in thin air.
What Makes It Difficult
- Steep Vertical Gain
Stress Curve
Sundardhunga Valley · Hardest Day
Explore Baluni Top & Sukhram Cave
Why Trekkers Struggle
Most trekkers fail on Sundardhunga Valley because the sheer physical volume outpaces their aerobic endurance. Long, punishing days on the trail steadily erode their overnight recovery capacity.
Best Suited For
Endurance athletes accustomed to back-to-back 10+ hour days on the trail.
What Makes It Difficult
- Sustained Movement Load
Stress Curve
Comparison Intelligence
Why They Feel Different
While Jhinda Bugyal and Sundardhunga Valley demand similar overall exertion, they test different skills. Jhinda Bugyal is significantly more demanding in terms of muscular load, whereas Sundardhunga Valley relies on other challenges.
Primary Differences
- Jhinda Bugyal places heavier cumulative wear on the legs and joints
- Greater mental fatigue and isolation play a secondary role
- Fundamentally different challenge types: structural vs resilience
View Full Comparison Analysis
Different Routes. Different Skills.
Both mountains require comparable cardiovascular stamina.
Both routes demand similar acclimatization capacity.
Jhinda Bugyal places more cumulative stress on knees, quads, and descending muscles.
Sundardhunga Valley demands more confident movement on steep and exposed terrain, while Jhinda Bugyal relies less on technical footwork.
Sundardhunga Valley exposes trekkers to higher levels of cold, isolation, and cumulative expedition fatigue.
Key Differences
At A GlanceHighest Altitude
Sundardhunga Valley
+1,000 ft higher
Commitment
Sundardhunga Valley
4 additional days
Month-by-Month Planner
Best Shared Window
These months typically offer stable conditions, good access, and reliable summit opportunities for both routes.
Jhinda Bugyal shines:
Jan • Feb • Mar • Jul • Aug • Dec
Planning & Logistics
No meaningful logistical differences.
Both routes share similar access, infrastructure, connectivity, and expedition logistics. Choose based on the mountain itself rather than planning considerations.
Route Data Sheet
Detailed specifications for trekkers who want the raw operational and expedition data.
Safety & Rescue
Helicopter rescue
Available
SharedEvacuation
Urgam-Helipad
Loharkhet / Jatoli-Helipad
Medical Access
Oxygen at base
SharedLogistics
Gear rental
—
SharedDrive to base
9 hrs
10 hrs
Connectivity
Limited EvidenceIntermittent Jio signal at the bugyal.
Dark zone beyond Khati.
Experience Requirements
Prior experience
Required
SharedMinimum age
12 yrs
16 yrs
Technical Details
River crossings
—
Yes
Glacier crossing
—
SharedIce grade
Low
None
Rock grade
None
Moderate — exposed rocky overhangs beyond Jatoli
Technical descent
none
SharedTerrain Profile
Jhinda Bugyal
Sundardhunga Valley
Similar Decisions
View full guide for
Jhinda Bugyal Trek
View full guide for
Sundardhunga Valley Trek