
Explore
Intelligence
Bhagirathi I Peak vs Satopanth Peak
Which summit should you attempt next?
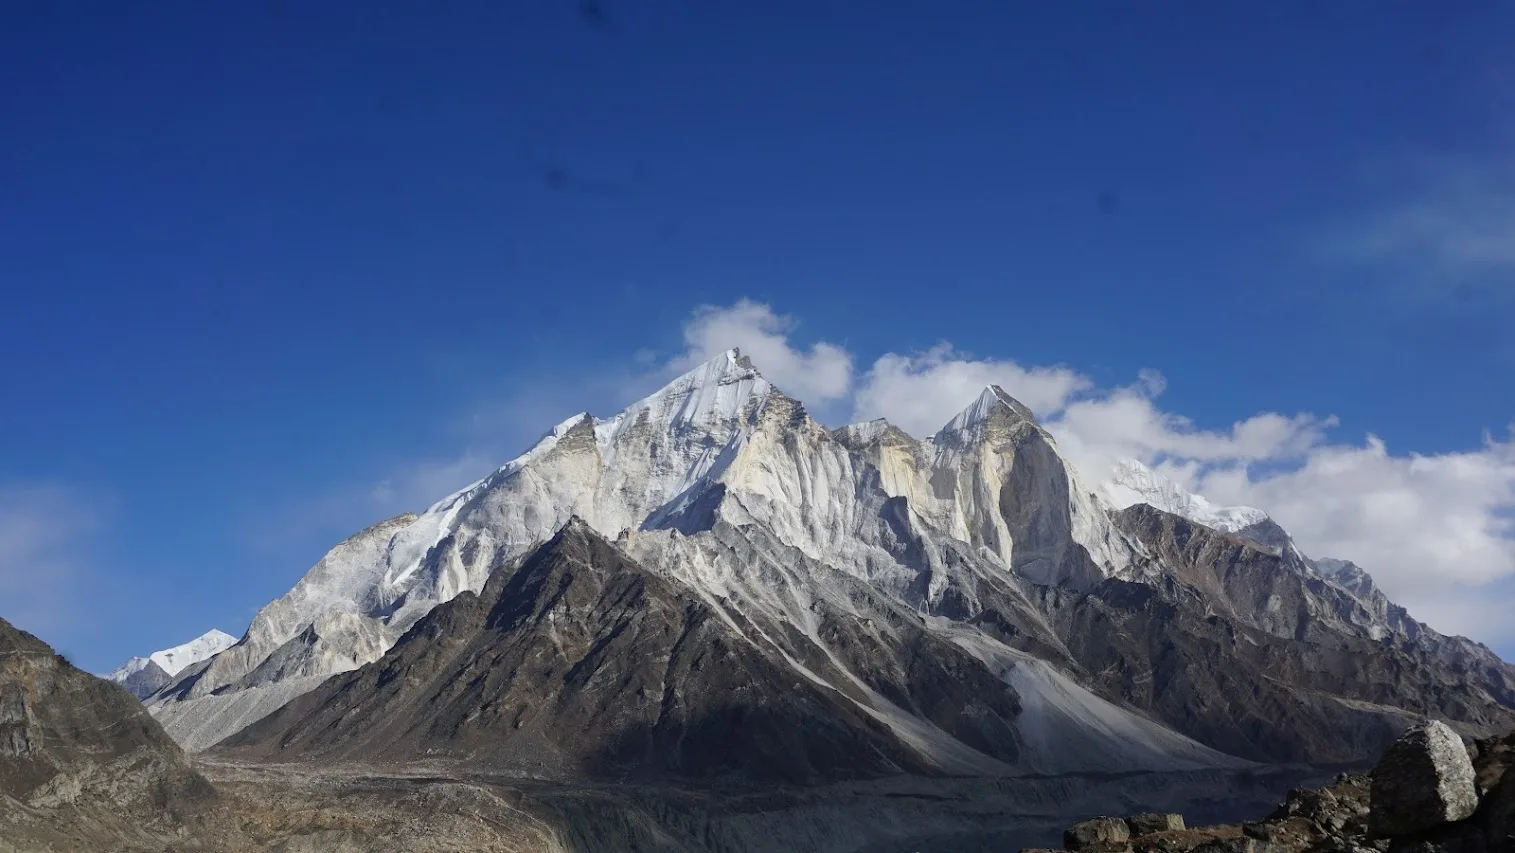
Bhagirathi I Peak Expedition
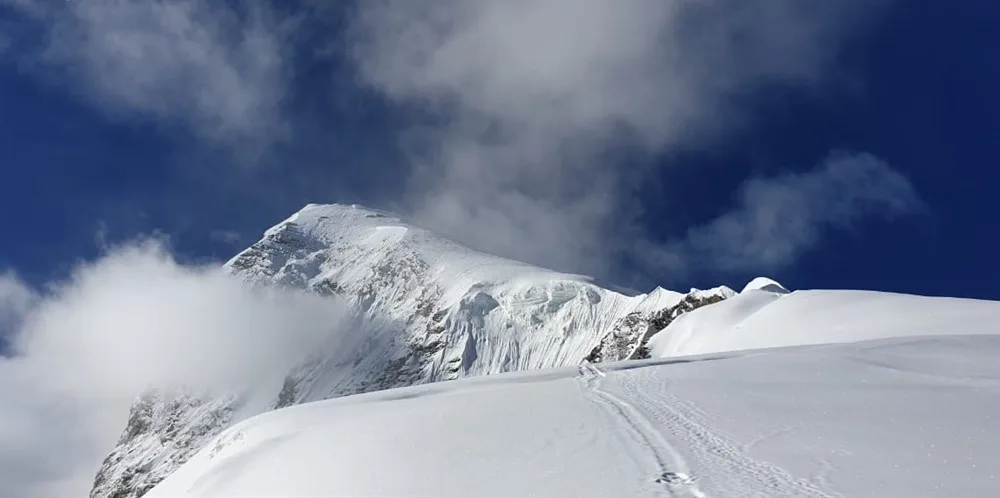
Satopanth Peak Expedition
Bhagirathi I Peak — The fast-and-light strike
Satopanth Peak — A deep, multi-day immersion
MountRoutes Recommendation
Bhagirathi I Peak is best if maximum high-altitude exposure is your absolute priority
Satopanth Peak is best if safer, more predictable progression path
At A Glance
Why They Differ
Altitude Profile
Your Next Step
Choose the hardest trek you've completed. We'll show how these routes compare.
Choose an anchor trek to see your personalized difficulty mapping.
Progression is one thing.
Physical readiness is another.
Your Fitness Matchboard
Can your body handle these routes?
Find out whether you're ready now, need more training, or should choose an easier objective. Takes 2 minutes.
Best For
Final Recommendation
Baseline RecommendationMountRoutes Pick
Satopanth Peak
Why we recommend this
Satopanth Peak distributes physical stress gradually over 22 days, creating a safer acclimatization rhythm compared to a rapid 18-day push.
- Safer, more predictable progression path
- More forgiving overall acclimatization profile
- Gradual ascent curve distributed over more days
- Optimal benchmark for first-time or transitioning aspirants
Alternative Pick
Bhagirathi I Peak
Choose instead if...
- Maximum high-altitude exposure is your absolute priority
- You are fully prepared for a steeper, more intense exertion curve
- You already have strong technical or multi-day expedition experience
The Hardest Day
MethodologyBoth routes are demanding. But they test different capabilities.
Bhagirathi I Peak · Hardest Phase
Days 10–11
Why Trekkers Struggle
Most trekkers fail on Bhagirathi I Peak because the route compresses a massive amount of altitude gain into a short window. Even fit climbers often begin experiencing acute hypoxia symptoms before their bodies can properly adapt.
Best Suited For
Aspirants with a proven track record on fast-ascent, high-altitude profiles.
What Makes It Difficult
- Consecutive Hard Days
- Aggressive Altitude Profile
- Technical Terrain Exposure
Stress Curve
Satopanth Peak · Hardest Day
Shift to Summit Bivouac
Why Trekkers Struggle
Most trekkers fail on Satopanth Peak because fatigue quietly accumulates across multiple days. The summit push arrives after reserves have already been depleted by cold, altitude, and repeated effort.
Best Suited For
Grinders who can sleep poorly and still perform at a high level on day seven.
What Makes It Difficult
- Consecutive Hard Days
- Aggressive Altitude Profile
- Technical Terrain Exposure
Stress Curve
Comparison Intelligence
Why They Feel Different
While Bhagirathi I Peak and Satopanth Peak demand similar overall exertion, they test different skills. Bhagirathi I Peak is significantly more demanding in terms of muscular load, whereas Satopanth Peak relies on other challenges.
Primary Differences
- Bhagirathi I Peak places heavier cumulative wear on the legs and joints
View Full Comparison Analysis
Different Routes. Different Skills.
Both mountains require comparable cardiovascular stamina.
Both routes demand similar acclimatization capacity.
Bhagirathi I Peak places more cumulative stress on knees, quads, and descending muscles.
Both trails feature comparable terrain complexity and footwork.
Expect similar levels of cold, isolation, and expedition fatigue.
Key Differences
At A GlanceHighest Altitude
Satopanth Peak
+719 ft higher
Commitment
Satopanth Peak
4 additional days
Month-by-Month Planner
Best Shared Window
These months typically offer stable conditions, good access, and reliable summit opportunities for both routes.
Planning & Logistics
No meaningful logistical differences.
Both routes share similar access, infrastructure, connectivity, and expedition logistics. Choose based on the mountain itself rather than planning considerations.
Route Data Sheet
Detailed specifications for trekkers who want the raw operational and expedition data.
Safety & Rescue
Helicopter rescue
Available
SharedEvacuation
Gangotri Helipad
SharedMedical Access
Oxygen at base
SharedLogistics
Gear rental
Rishikesh / Uttarkashi / Joshimath
SharedDrive to base
8 hrs
SharedConnectivity
Limited EvidenceNone at base camp. Sporadic signal at Gangotri.
SharedExperience Requirements
Prior experience
Required
SharedMinimum age
18 yrs
SharedTechnical Details
River crossings
Yes
SharedGlacier crossing
Yes
SharedIce grade
D+
PD+
Rock grade
D+
PD+
Technical descent
Fixed-rope rappel down the ridge
SharedExpedition Operations
Acclimatisation cycles
1 rotation
SharedPermit cost
₹3,500
SharedTerrain Profile
Bhagirathi I Peak
Satopanth Peak
What You'll See
Similar Decisions
View full guide for
Bhagirathi I Peak Expedition
View full guide for
Satopanth Peak Expedition